Key Takeaways
- It is beneficial to know how to create an emergency muzzle to care for an injured dog.
- To create an emergency muzzle, you will need a leash or piece of gauze and scissors.
- Approach the dog calmly, and get the dog into a comfortable position.
- Wrap the leash or gauze at least twice around the muzzle and tie it behind the ears.
- The muzzle should restrict the dog’s ability to open its mouth but allow normal breathing.
Table of Contents
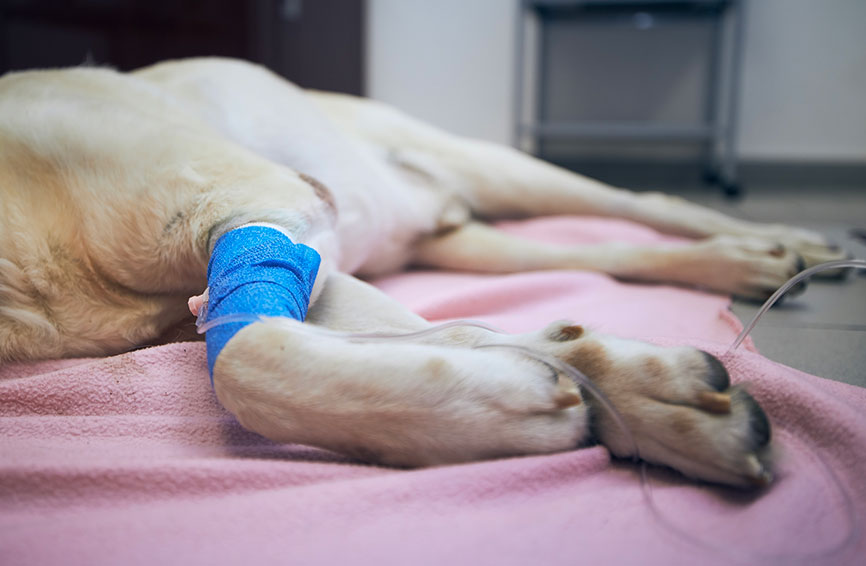
From administering CPR to taking care of a wounded pup, knowing how to muzzle a dog properly in the event of an emergency is crucial knowledge that can help keep an animal from biting or injuring you. Despite our best intentions, dogs might not realize that we are helping, and they can react with fear or aggression, especially if they are wounded. Here’s how to quickly muzzle your pup in case of an emergency without a technical muzzle around to do so.
You will need a leash or a piece of gauze, and a pair of scissors.
1. Approach the dog calmly
By reacting calmly and confidently, you can help to soothe a pup who has been hurt. Suppress any negative reactions that can be transferred to the animal. Make slow movements and use a low, soothing voice.

2. Get the dog into a comfortable position
Gently and assertively, but without force, get the dog into a comfortable position where you can have access to their mouth and nose. Recommended positions for the pup include laying on the belly or even in a seated position.
3. Take your gauze or leash to apply the makeshift muzzle
Gauze with a lot of elastic may not work too well, so you’ll have to double up to increase its strength. Generally, the gauze should be long enough to wrap around the muzzle at least twice, tying behind their ears. You an also use the leash, or other strips of strong cloth if need be.
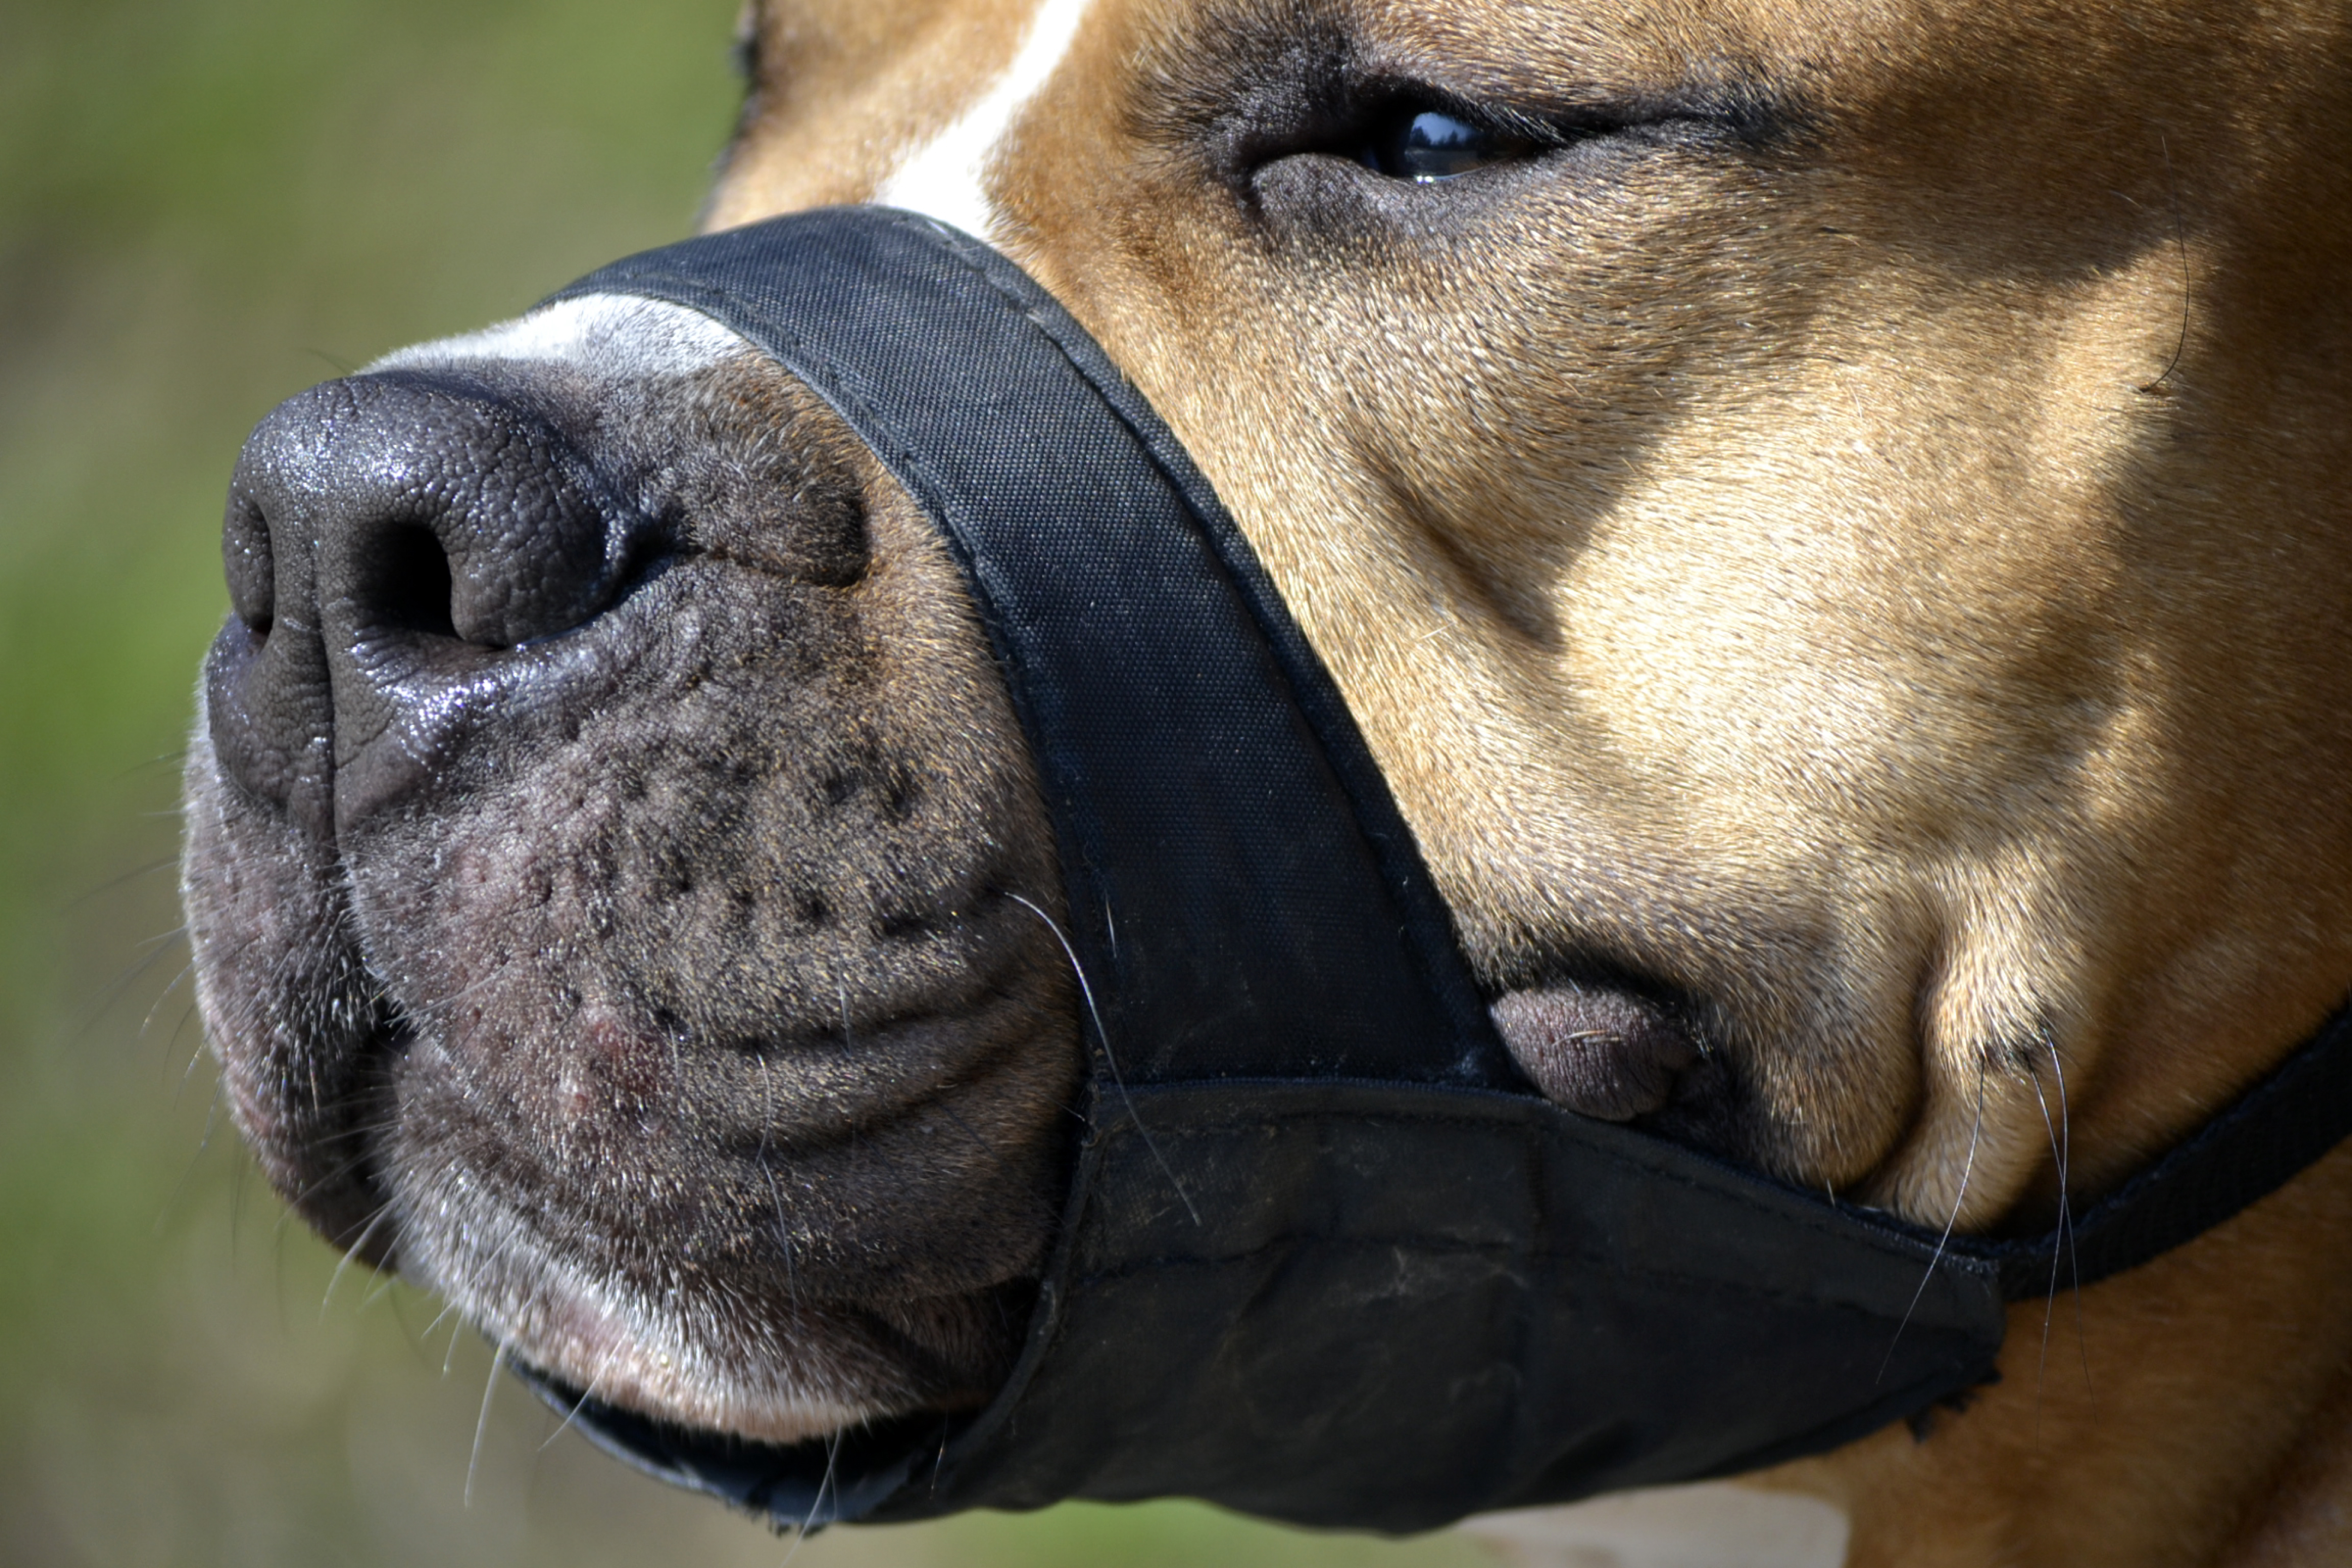
4. Create the muzzle
First create a loop that is about three times the size of your dog’s snout so you can slip it on, tighten it, and then tie into a knot on the top of the nose. Bring the two ends around to create a second loop around the snout. Tie these ends underneath the jaw with another single knot. Once secured around your dog’s muzzle, bring the ends of the gauze or leash (now underneath your dog’s jaw) around the back of the ears. Tie again. The muzzle will be tight enough where your dog is unable to open their mouth but not too tight that they can’t breathe.
Note: You will need to be able to remove the muzzle quickly should your dog start vomiting, so make sure you leave an out. If it isn’t easily removable, scissors can quickly cut through the fabric.
In addition to being prepared for an emergency with our Be Prepared: Emergency Pet Safety tips, don’t forget to enroll in pet insurance. Having a Healthy Paws policy means you can be reimbursed up to 90% on vet bills so you won’t have to say no to a life-saving procedure because of economic euthanasia. Start by getting a quote.