Table of Contents
Key Takeaways
- Leash training, also known as ‘heel’, is an important skill for your dog, both for safety and more pleasant walks.
- Heel training should be done in phases, starting first off-leash in your home and gradually moving to walking in your neighborhood.
- When you start, you will be rewarding your dog with treats every few steps, gradually decreasing until they are no longer needed.
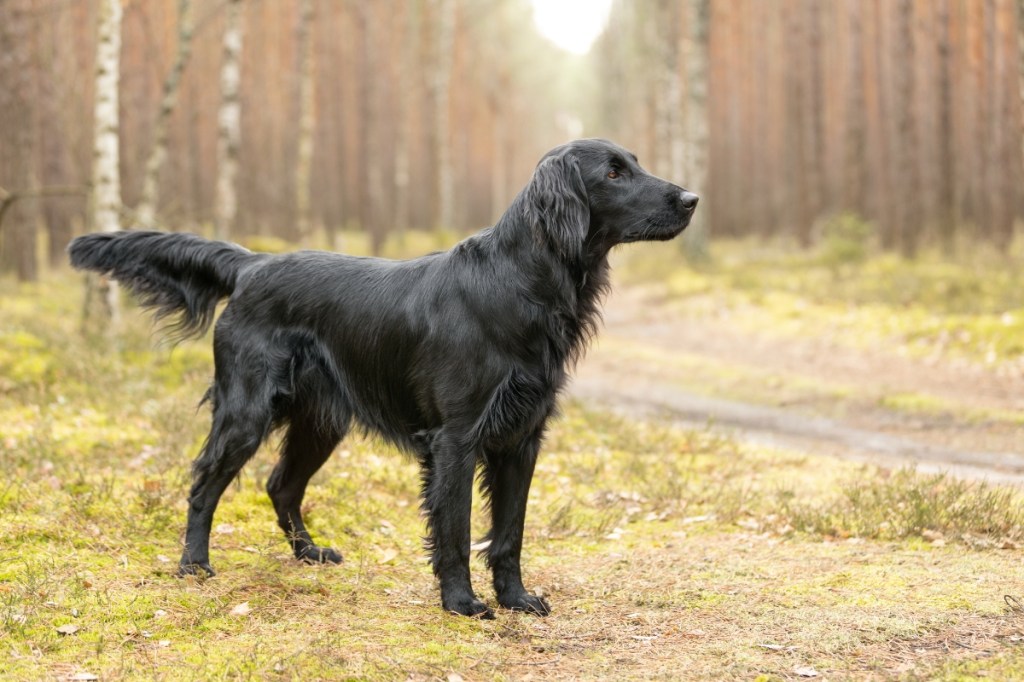
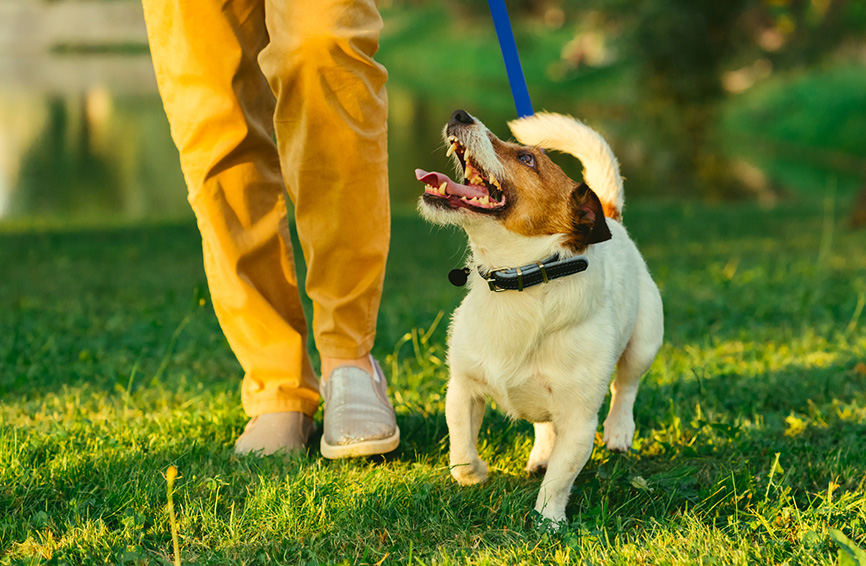
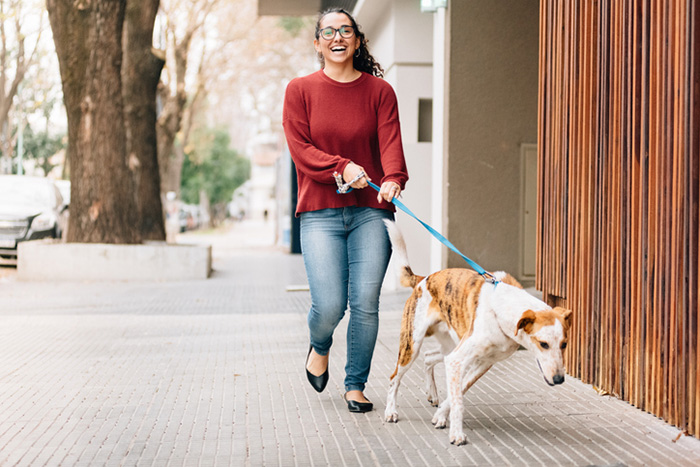
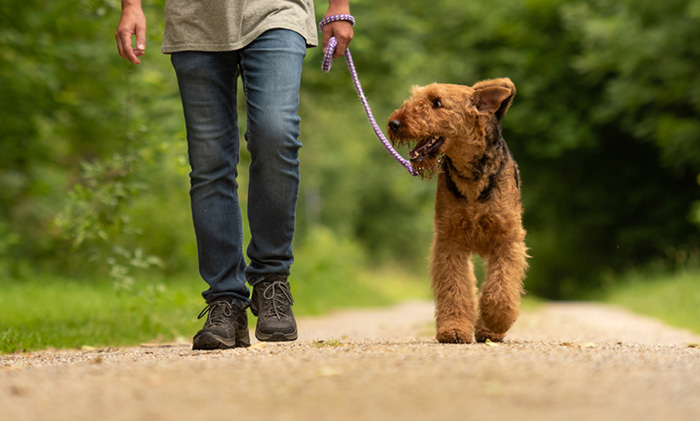
Does your dog take YOU for a walk? Has anyone ever said to you, “Who’s walking who?” Are you one of those people getting dragged down the street by your dog?
If so, some leash training is in order. It’s essential to train your dog to walk beside you without any tension on the leash – also known as the ‘heel’ request, even if you don’t always expect your dog to heel. Not only is it safer for both of you, but your walks will be a lot more pleasant without the risk of your shoulder being pulled out of its socket or tripping on a crack in the sidewalk.
If your furry friend has been doing his own thing on walks for a while, teaching him to walk nicely on a leash can seem daunting at first, especially if your dog is a puller and gets easily distracted. No matter your dog’s age, it’s crucial to set them up for success and to have realistic expectations.

Where and how to start heel training
You may think that you should start heel training in your neighborhood, but even this will be too overwhelming for your dog at first.
The first step will be teaching your dog what ‘heel’ means. Just because we attach a leash to their collar doesn’t mean that they instinctively know that we want them to walk beside us. We need to make it easy for them to ‘get it right.’
It may seem counterintuitive, but heel training begins off-leash, in your home, and then in a fenced yard. Once your dog is walking well beside you, you can then add the leash. By not using a leash, you are less likely to pull them back to your side, and you want to make sure that they are choosing to walk beside you rather than being forced to walk with you.
Unstructured heel training
While you are in the process of training ‘heel’ in the house or yard, you can start to prepare your dog for heeling on walks by doing some unstructured heel training. When you go on walks, take these practice steps:
- Don’t ask them to ‘heel’ as they are not ready to focus.
- Randomly stop and ask them to ‘wait’ on a walk.
- Add in an occasional circle or figure eight on a walk.
- Change direction throughout the walk.
- Don’t walk the same route every day; change it up.
- If they pull to the right, walk left.
- If they walk ahead of you, turn around and walk in the opposite direction for a few steps.
Choosing the right treats for your dog as motivation
Be armed with high-value treats (only those your dog really loves), that are small and soft. If the treats aren’t yummy enough, your dog doesn’t have enough motivation to pay attention and learn.
Treats that are too hard or big could take your dog too long to chew or swallow. Avoid cookie-like treats, as the crumbs tend to fall on the ground, and your dog will be more likely to hunt the floor for crumbs rather than stay focused on you.
If your dog doesn’t seem motivated by treats, try several flavors to see which your dog enjoys most, usually the smellier, the better. Lamb lung, tripe, any hydrated meats work well, and you can cut them up with scissors or a knife so that they are small enough to dispense easily. You’ll need lots of treats for this exercise.

Decide which side you would like your dog to walk on
You want to train your dog to always walk on the same side of you, so decide at the start which is most comfortable for you. Once they have learned heel, you can always change the side if you need to during a walk. For example, if you are walking past a fence with a dog on the other side, you always want to be between your dog and the dog on the other side of the fence.
How to dispense the treats during leash training
You will hold the treats in the opposite hand of the side that you want your dog to walk on. If the treat hand drifts too far across your body, your dog will start leaning in front of you to look at the treat hand. So, think of this arm being like a ‘wing’ and tuck your arm at your side as you walk. Think of your other hand like a lever that comes over to get the treat, and give it to your dog when they are in the correct position, which is by your side.
When you begin heel training, you should give your dog a treat every two steps. Once they are staying by your side, you will gradually give them fewer treats, moving from every two steps to every four steps, then every six steps, and so on. However, you want to continue giving them verbal praise to encourage them and focus on the training.
Whenever you move to the next stage of training, start by giving a treat every two steps again, and slowly decrease the number of treats you give as your pup learns.
The stages of heel training
Stage 1: Hallway walking:
Start by walking in a hallway, as it will be easier for your dog to get it right because they are stuck between you and the wall. Don’t walk to the end of the hallway, as you need to have enough room to guide your dog back to your side if they get confused and they need enough space to move their body comfortably. If your dog is nervous in the hallway, you can create a hallway effect between a wall and the back of a couch, for example.
Stage 2: Walking in the rest of the home:
You are ready to start practicing in other areas of the home when:
- Your dog is walking nicely beside you consistently and not leaving your side.
- When you only need to give your dog a treat every ten steps, and they remain focused.
Stage 3: Practicing in a fenced area:
Move to practice off-leash in your fenced back yard when:
- You can walk anywhere in your home, and with the heel request, your dog is easily staying beside you for at least 15 minutes.
- You only need to give a treat occasionally.
If you don’t have a fenced yard, you will need to keep your dog on a leash as you practice. Practice first on a patio or deck, if you have one, then follow the same steps on the grass. The grass, with all its smells, can be more distracting.
Stage 4: Practicing outside your property:
Move to walking outside a fenced area when:
- Your dog can easily focus with all of the distractions in your yard and still heel nicely.
Before practicing in the neighborhood, watch the world go by with your dog. Sit outside your front door with your dog on a leash, relax and read a book or enjoy a drink as you help your dog adjust to everything that they will see on the walk, from a safe distance. Practice for five minutes every day, and this will help your dog focus when you venture into your neighborhood as they aren’t seeing everything for the first time.
Of course, this is where you will add the leash to the exercise. The first goal is getting from your front door to the sidewalk, then walking with houses on either side of you. Remember that your dog will not be able to focus for long outside of your home, so keep the training sessions short in the beginning.
Don’t walk very far and focus on showing leadership to your dog, meaning the dog isn’t leading you, you are leading the dog. This approach to heel training helps your dog learn what heel means and to follow you and trust you on a walk.
As you leave your house, the first goal will be to get to the end of your driveway or down to the sidewalk. It could take 20 minutes to do this if your dog needs reminders to heel. Don’t worry about how long it takes or how far you walk. The most important thing to focus on is encouraging them with praise and not worrying how far you get. As you continue practicing, you may be surprised at how quickly you progress.
The basics of heel training
- Start by calling your dog to you, then tap the leg that you want them to walk beside and ask them to ‘heel.’ For example, my dog is called Tootsie, and when I ask her to heel, I tap my right leg twice. On the first tap I say ‘heel,’ and on the second tap I say her name ‘Tootsie’. Saunter slowly, as the slower you walk, the more your dog needs to pay attention. Continue to keep eye contact with your dog, as long as they stay walking beside you. Every couple steps, you tap your leg and say, “Heel Tootsie,” if they stay beside you, say “Good heel Tootsie” as you dispense a treat.
- In the beginning, walk in a line, back and forth.
- Start by giving a treat every two steps and gradually increase the number of steps between treats.
- Once your dog is heeling nicely by your side, add in walking in circles and figure eights. Remember that the turn with your dog on the outside will be easier for them, so start heeling in circles with your dog on the outside of you as you turn. When you progress to turning towards your dog, walk in a wide enough circle so that your dog doesn’t have to pivot in one spot, as that will be too hard and awkward for them.
- Add in ‘wait’. Wait means a temporary pause in your walking. To successfully teach ‘wait’ as you begin to take the last step before pausing, say ‘wait’ with slow delivery and a slower last step. If your dog doesn’t stop with you, ask them to heel again and repeat.
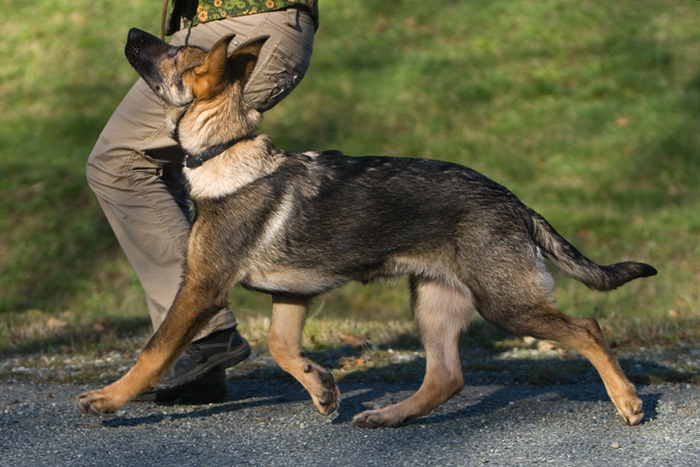
If your dog leaves your side and walks in front of you
Don’t look at them, as this will confuse them as to what you are asking. Take a step back and imagine your upper body and lower body are disconnected, like a puppet. Keep your lower body with your legs facing in the same direction that you are heading. Swivel your upper body and bend slightly so that your whole upper body is facing the side that you want your dog to be on and tap your leg and ask them to heel again. Your whole upper body should be facing where you’d like them to be, because if you only turn your head, your dog is more likely to be confused. If they join you, say “Good heel” and give them a treat.
If they don’t come to your side, take a second step back, tap your leg and ask them to heel again.
If they still don’t join you, take a third step back, tap your leg and ask them to heel. This time if they are still confused, take a treat without looking directly at them, put the treat right in front of their nose, and as they step towards it, slowly move the treat and guide them to your side. You will need to guide them in a half-circle, moving them first away from you, then bringing them to your side.
The reason for taking up to three steps back before guiding them with the treat is that they may need a couple of reminders with you tapping your leg and asking them to heel to come and join you on their own. By practicing like this, your dog will soon learn to quickly come back to your side if they walk ahead. Remember to hold the treat right in front of their nose to encourage them and prevent them from jumping to get the treat.
If you are walking and your dog is behind you
If your dog is not walking at your side, stop, don’t look at them, swivel, as previously described, and tap your leg and ask them to heel. As soon as they join you, say “Good heel” and give them a treat.
Duration of heel training session
- Start with two minutes.
- As your dog learns and it becomes more routine, gradually increase the time.
- Practice one to three times a day, if your schedule allows.
- Whenever starting a new stage of training, go back to practicing for two minutes.
Desensitizing your dog to the leash
If your dog goes crazy and starts jumping up or barking when they see the leash, it’s key to teach them to be calm before you head out on a walk. Teach this by:
- Moving the leash randomly throughout the day.
- Periodically call your dog to you put the leash on, then remove it and put it away.
This is not teasing your dog; it’s letting them know that just because they see a leash doesn’t mean that they are going for a walk. It will help them feel less amped up when you leash them up for a walk.
Don’t expect your dog to heel during the entire walk
Whether you are doing structured or unstructured heel training, your dog doesn’t need to walk beside you for the entire walk unless you live in a busy city. You can permit them to have more freedom off and on during the walk. To release them from your side and heel, first ask them to “sit,” then say “go play,” or whatever release word you would like to use, and this means that your dog can wander, roll in the grass, sniff, chew on a stick, whatever they choose. They can have freedom on or off-leash, depending on their recall. If you don’t trust that they will come back when you call them, you can use a long leash so that they are still attached to you for safety.
A few final tips on training your dog the heel command
- Don’t try to rush through the steps.
- Only move to the next stage when your dog is easily succeeding at the stage you are practicing.
- Always use a kind, friendly tone of voice.
- If your dog makes a mistake, stay calm and patient while they learn.
- Every dog has a different level of ability to focus; don’t compare them if you have more than one dog in the home.
- If you have multiple dogs, they will need to be separated as you practice heel training, or it will be impossible for the dog to focus.
Sarah-Anne Reed is a holistic dog trainer, and owner of Pack Dynamics, LLC ®. Her practice focuses on understanding and respecting dogs as a different species and honoring them as individual beings.
This article is copyrighted by Sarah-Anne Reed and Pack Dynamics® LLC, and no reproduction of this article without the express permission of Sarah-Anne Reed is permitted.
Are you someone who takes dog training seriously? Then you are a great candidate for pet insurance. Get a quote and make sure you’re covered for future injuries or illnesses.